How to create Articles in Github
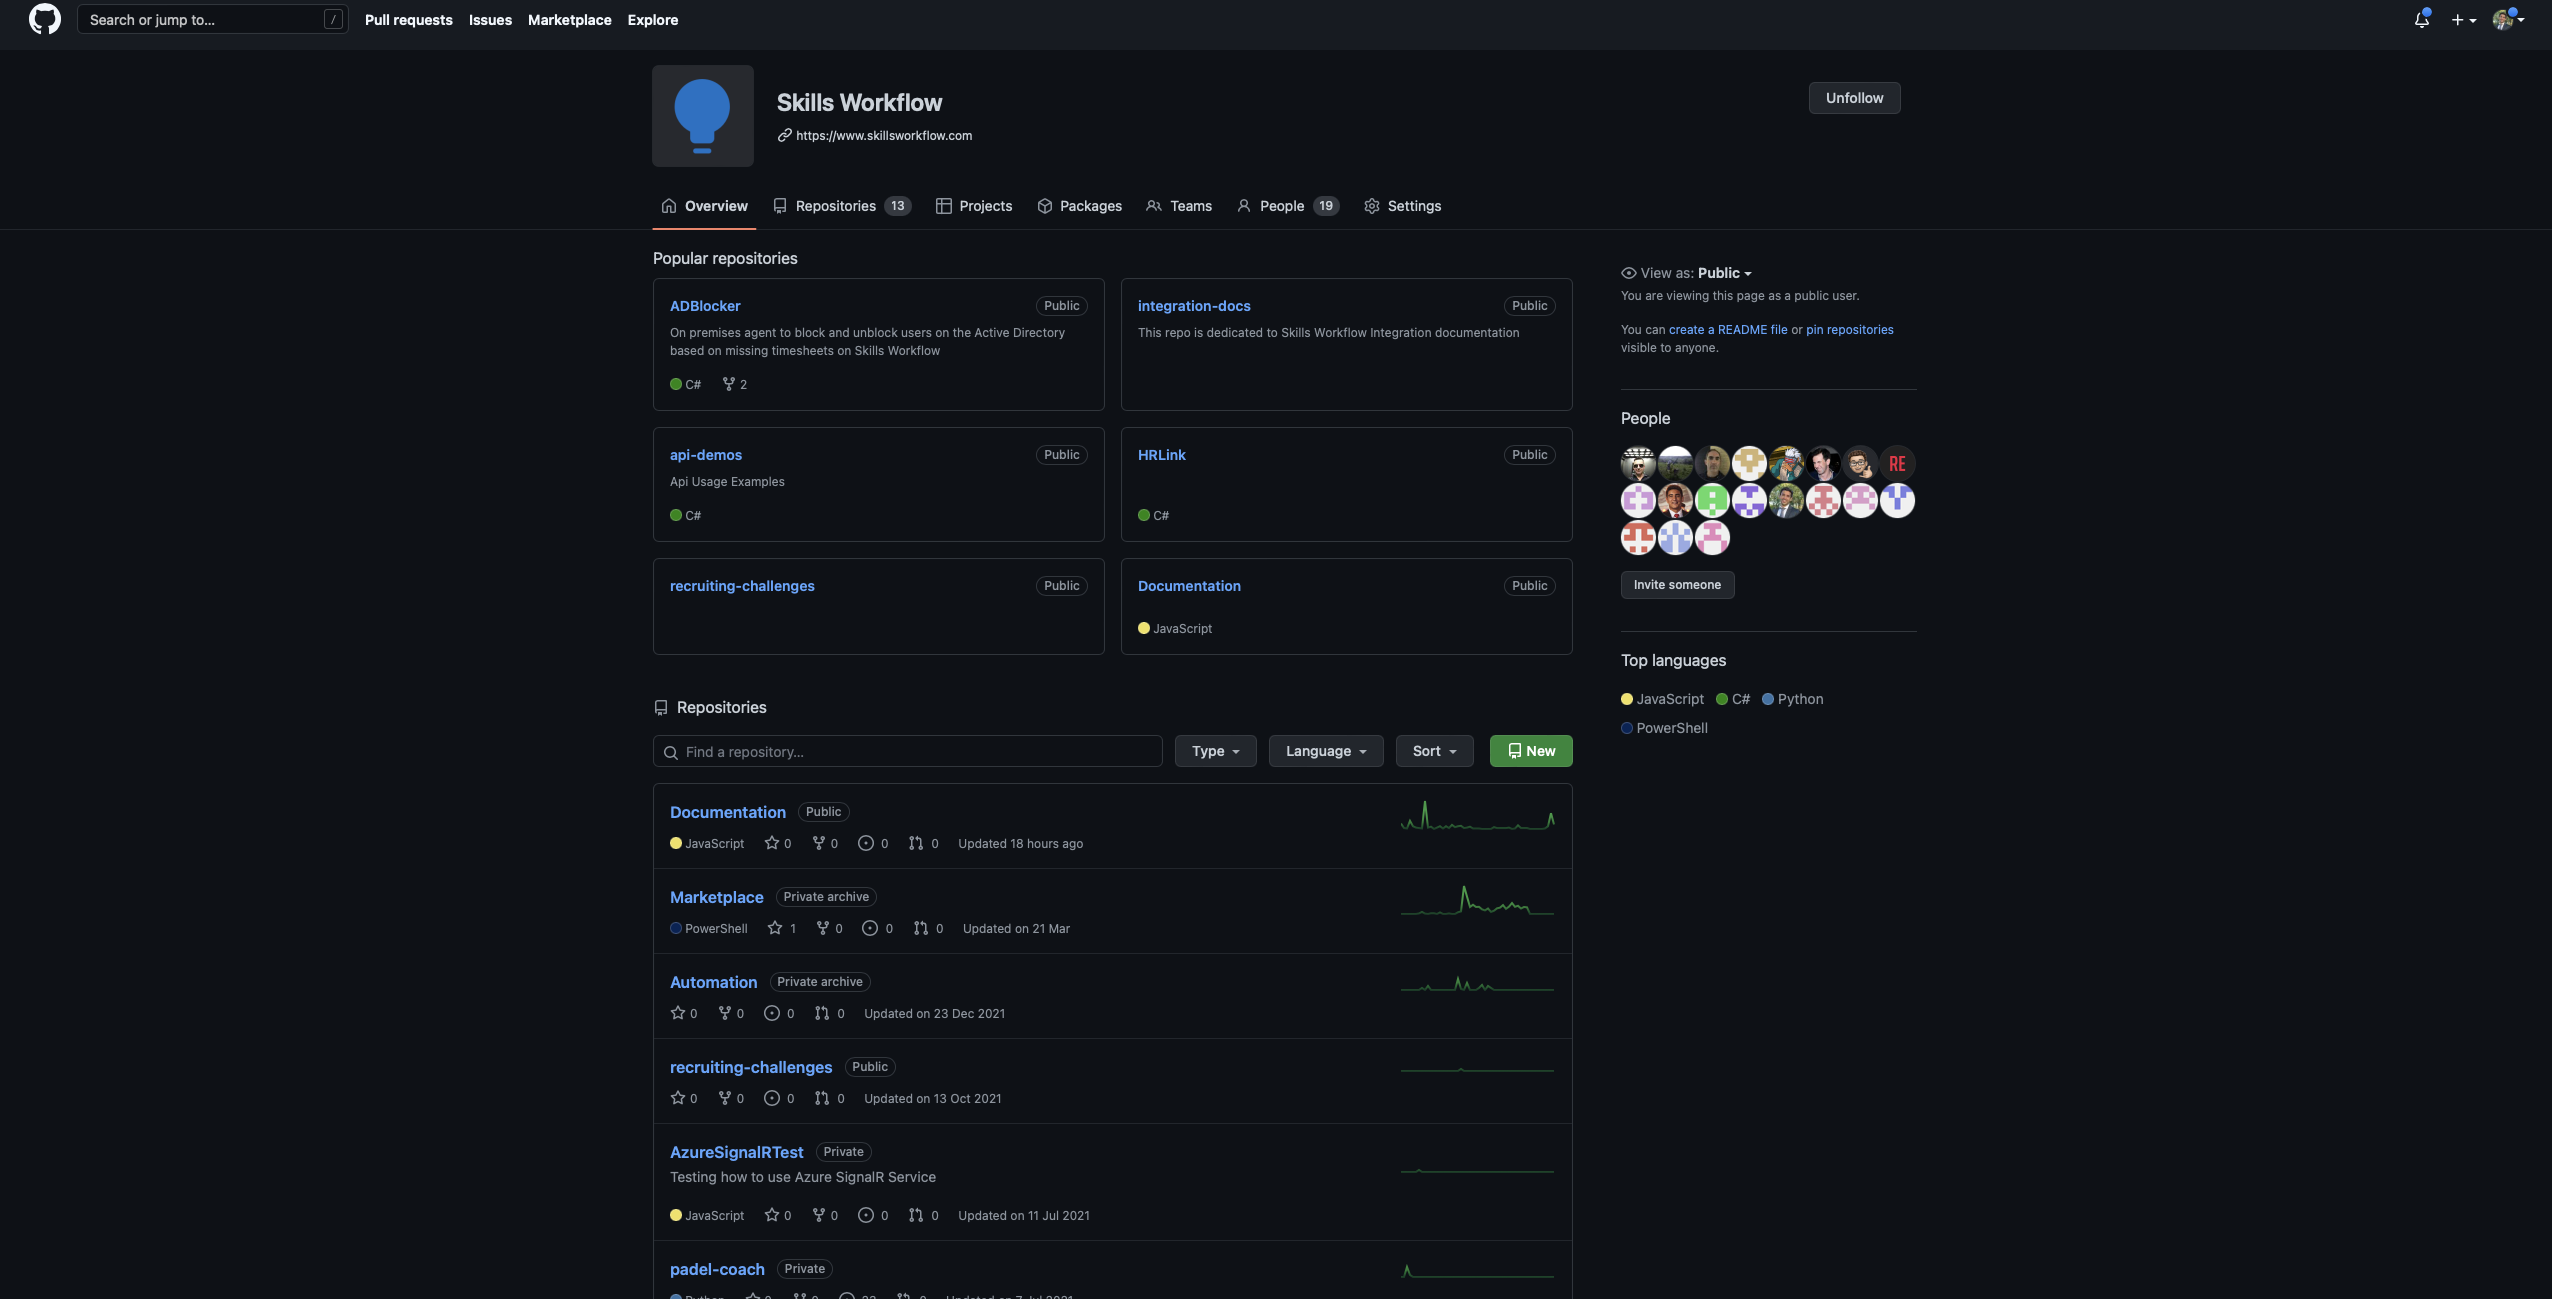
Sign or register your Github account and navigate to Skills Workflow Organization. After that you should find Documentation repositorie and all contents inside.
Creating new articles
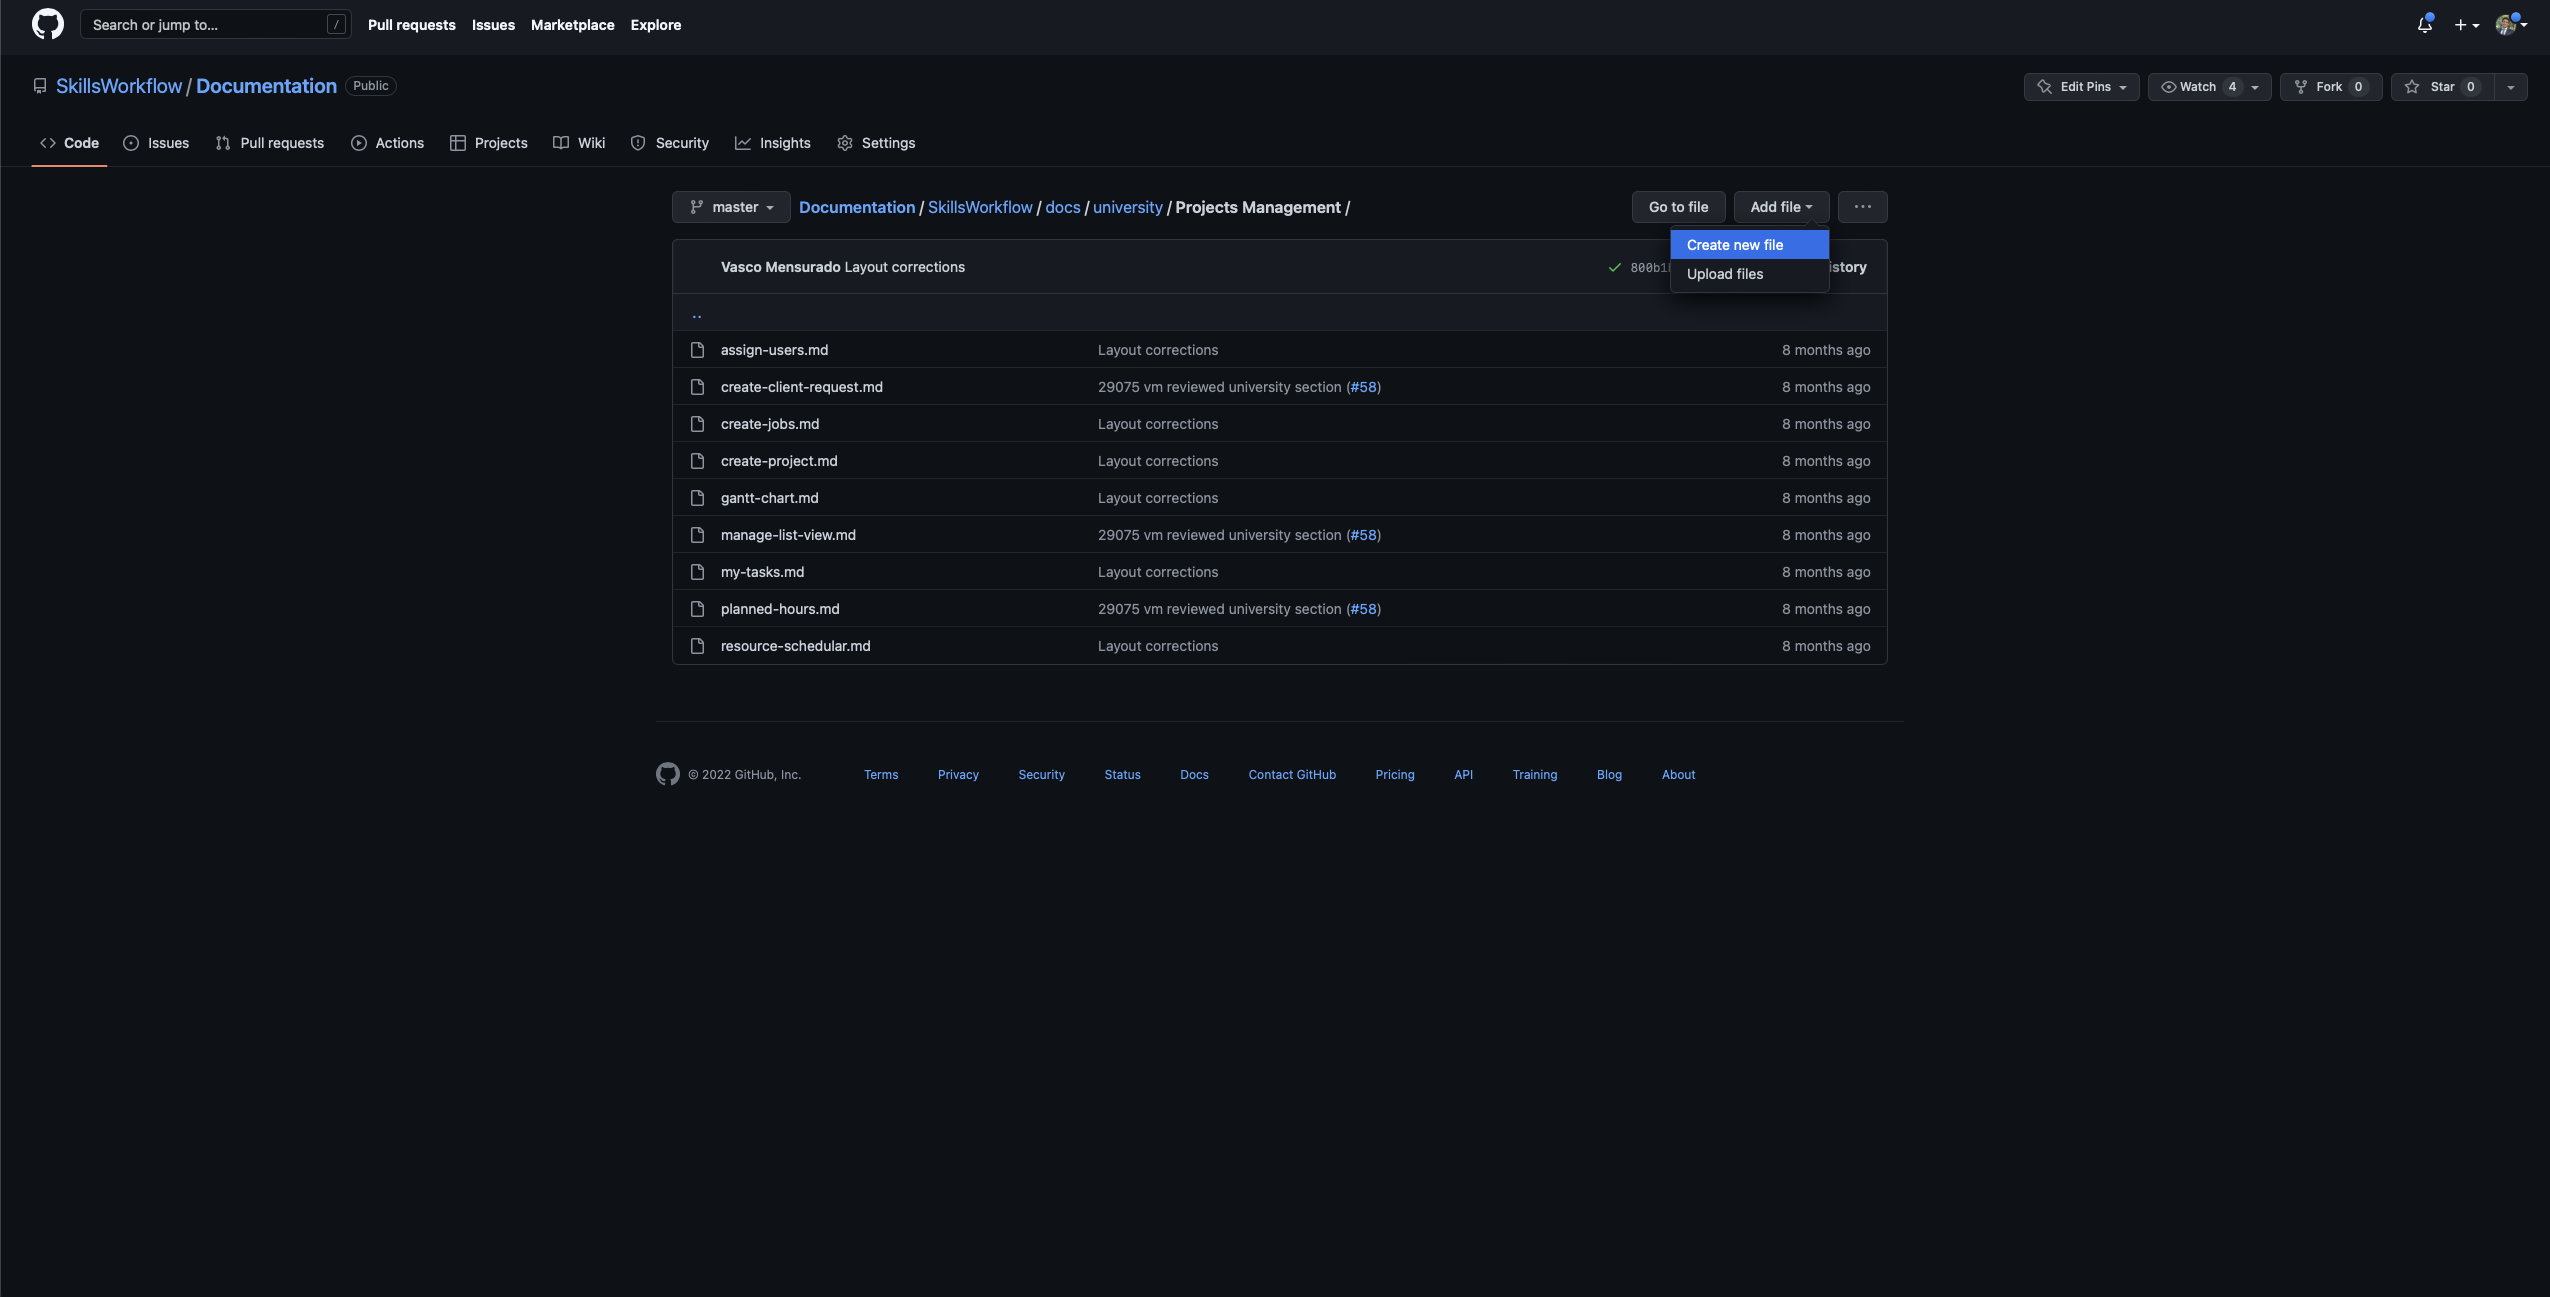
To create a new article you should navigate to the desired parent folder in which you want to create your article, and click on New file.
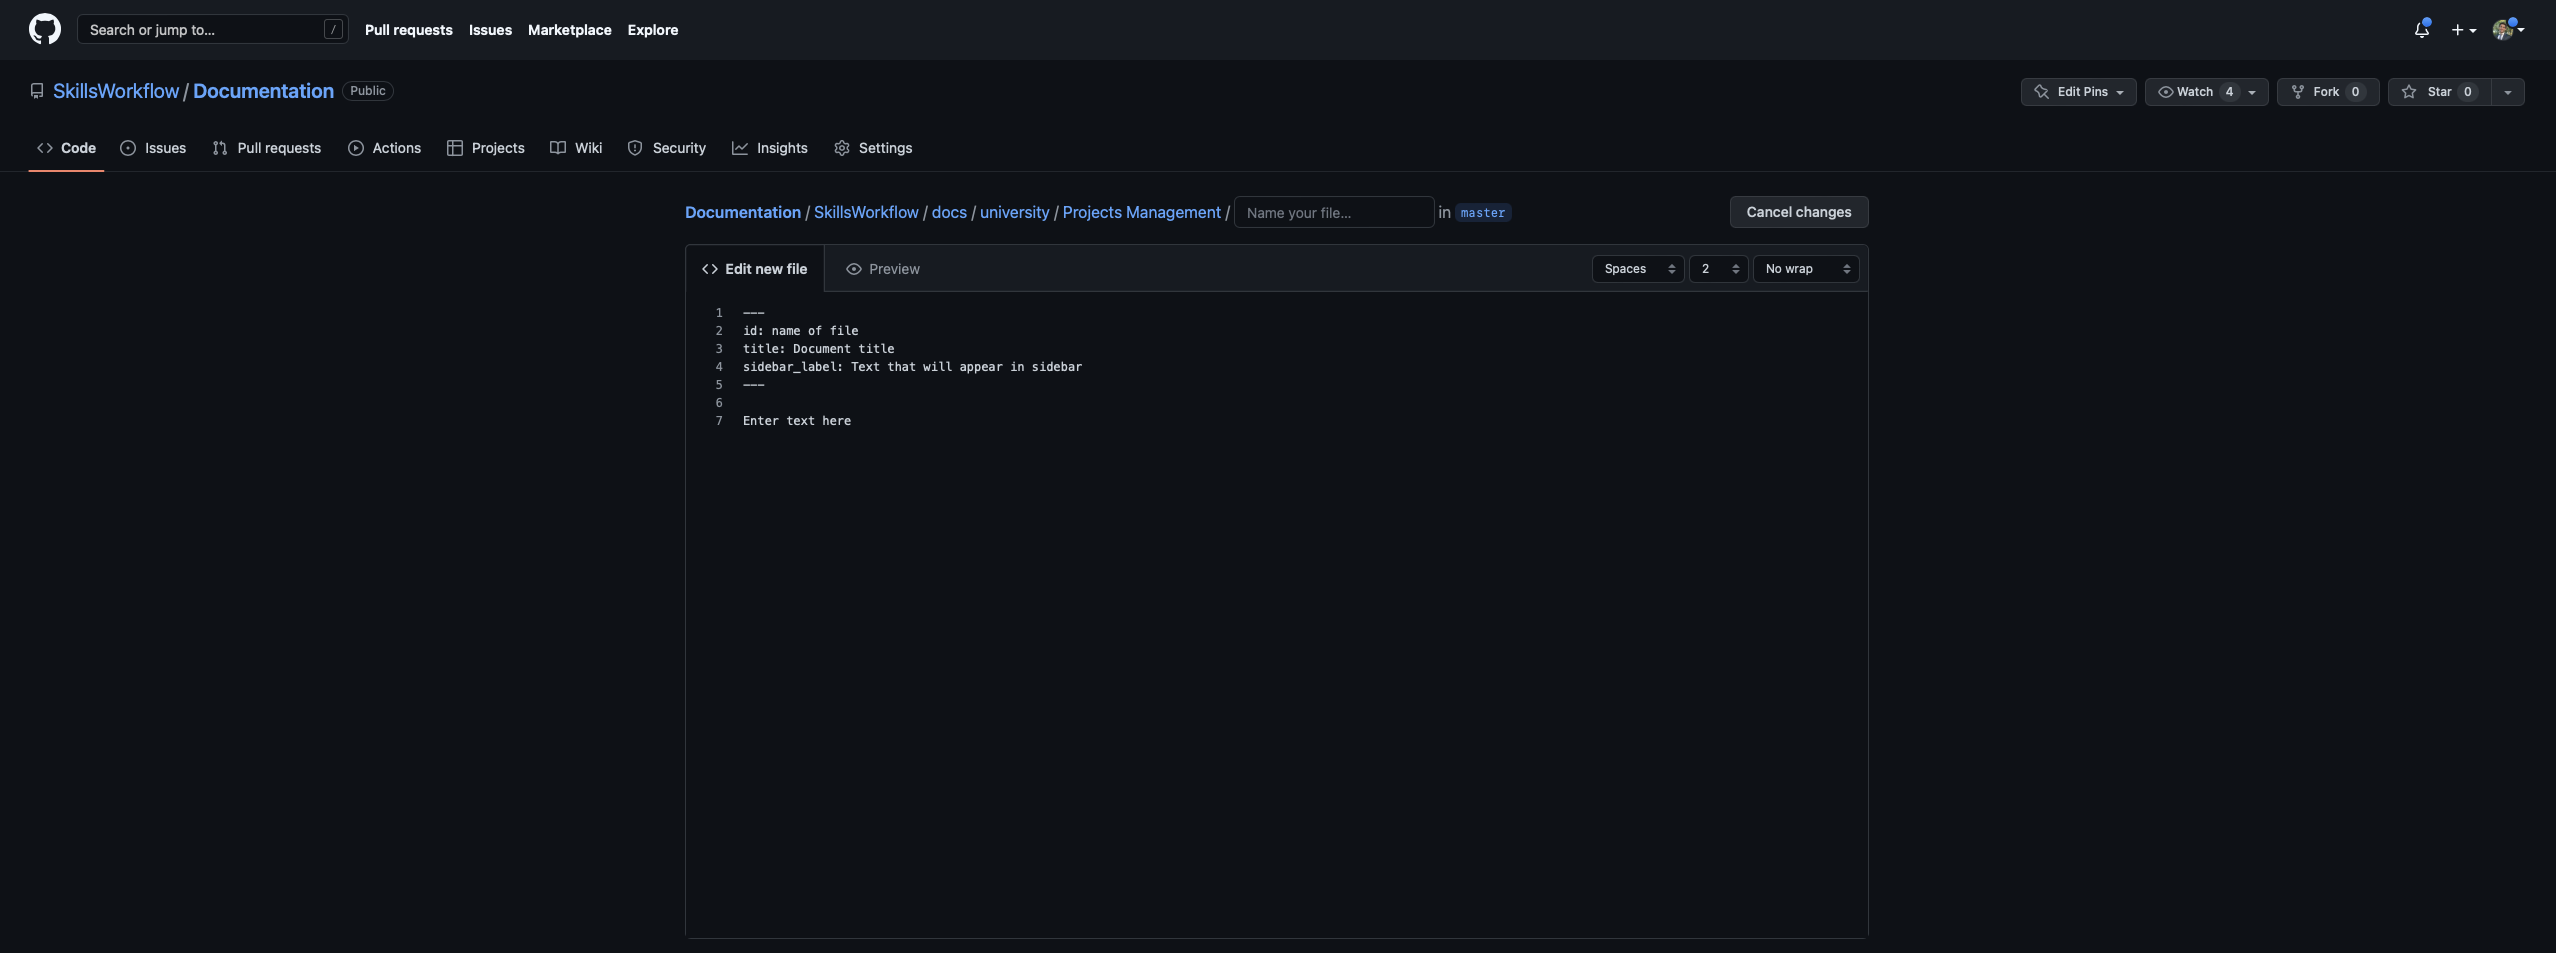
Add a header section at the top of the page that should have an id (has to be the same name as file), document title and the side bar label. It should be separated by 3 -.
Text format should follow our style guide. You can consult it here to see all different option Headers and sub headers should be used with #. You can follow our style guide to see all different options.
Editing Documents
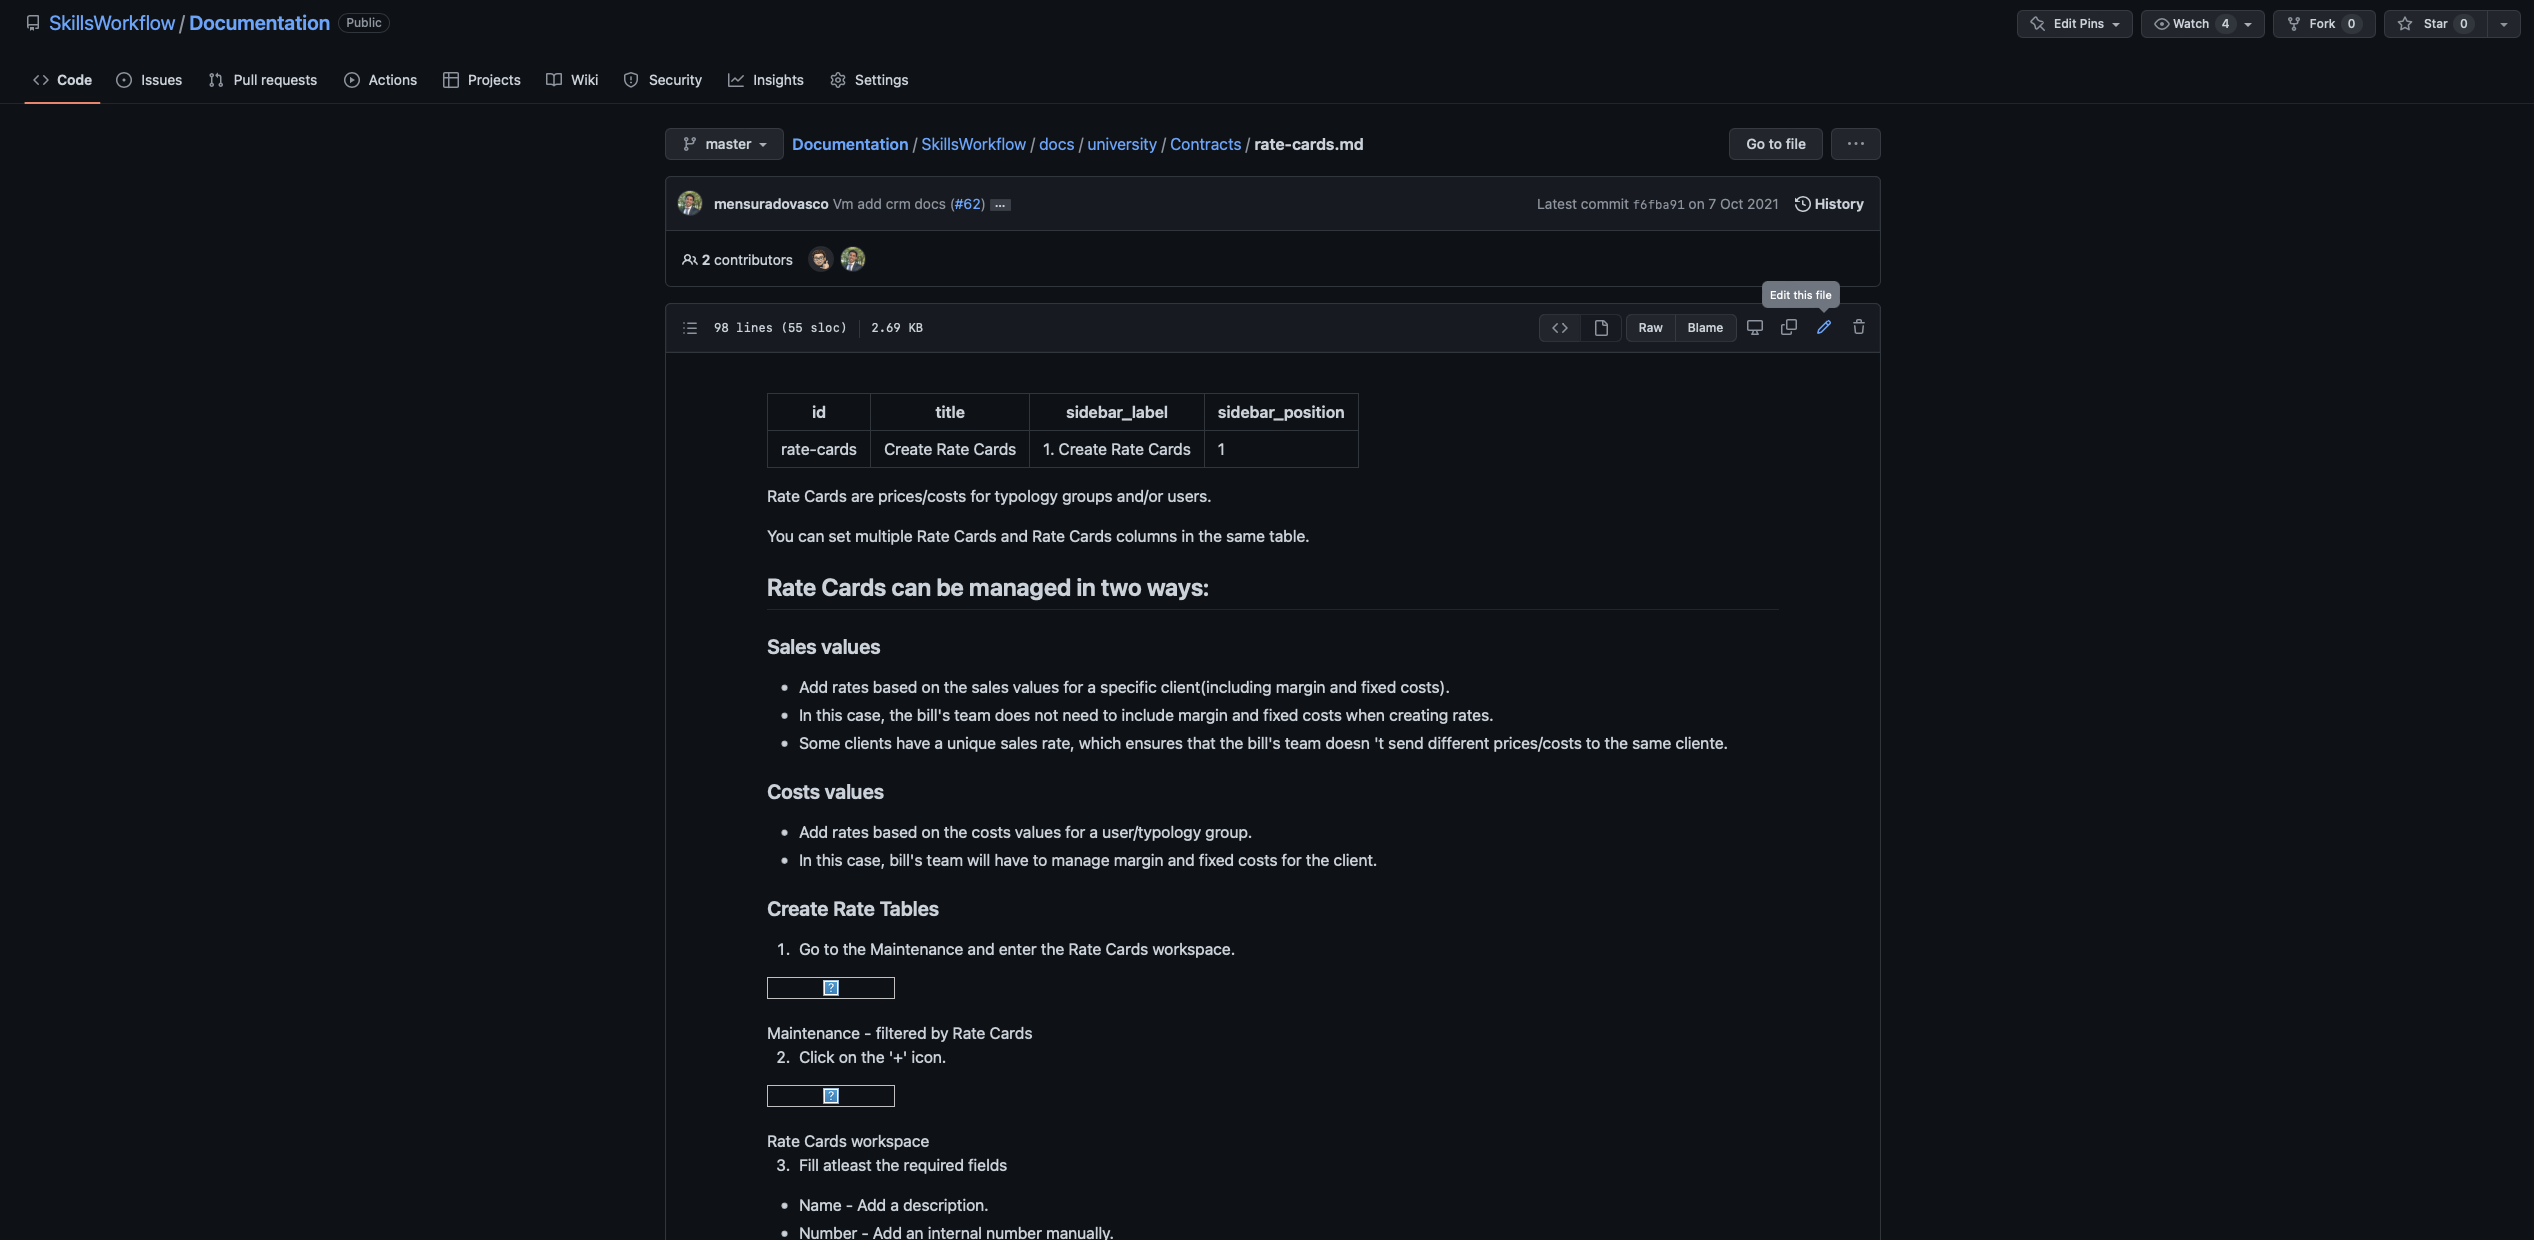
To edit a document you should navigate trought the folders and open it. Clicking on the pencil will open edit mode.
Adding Images
To add images you should go to static/img and add it to the respective folder. If that section does not exist a new empty folder can be created for better organization.
Images should be added with article name + number.
After images have been created, you can provide images from any folder by copying path to file and referencing it in your article.
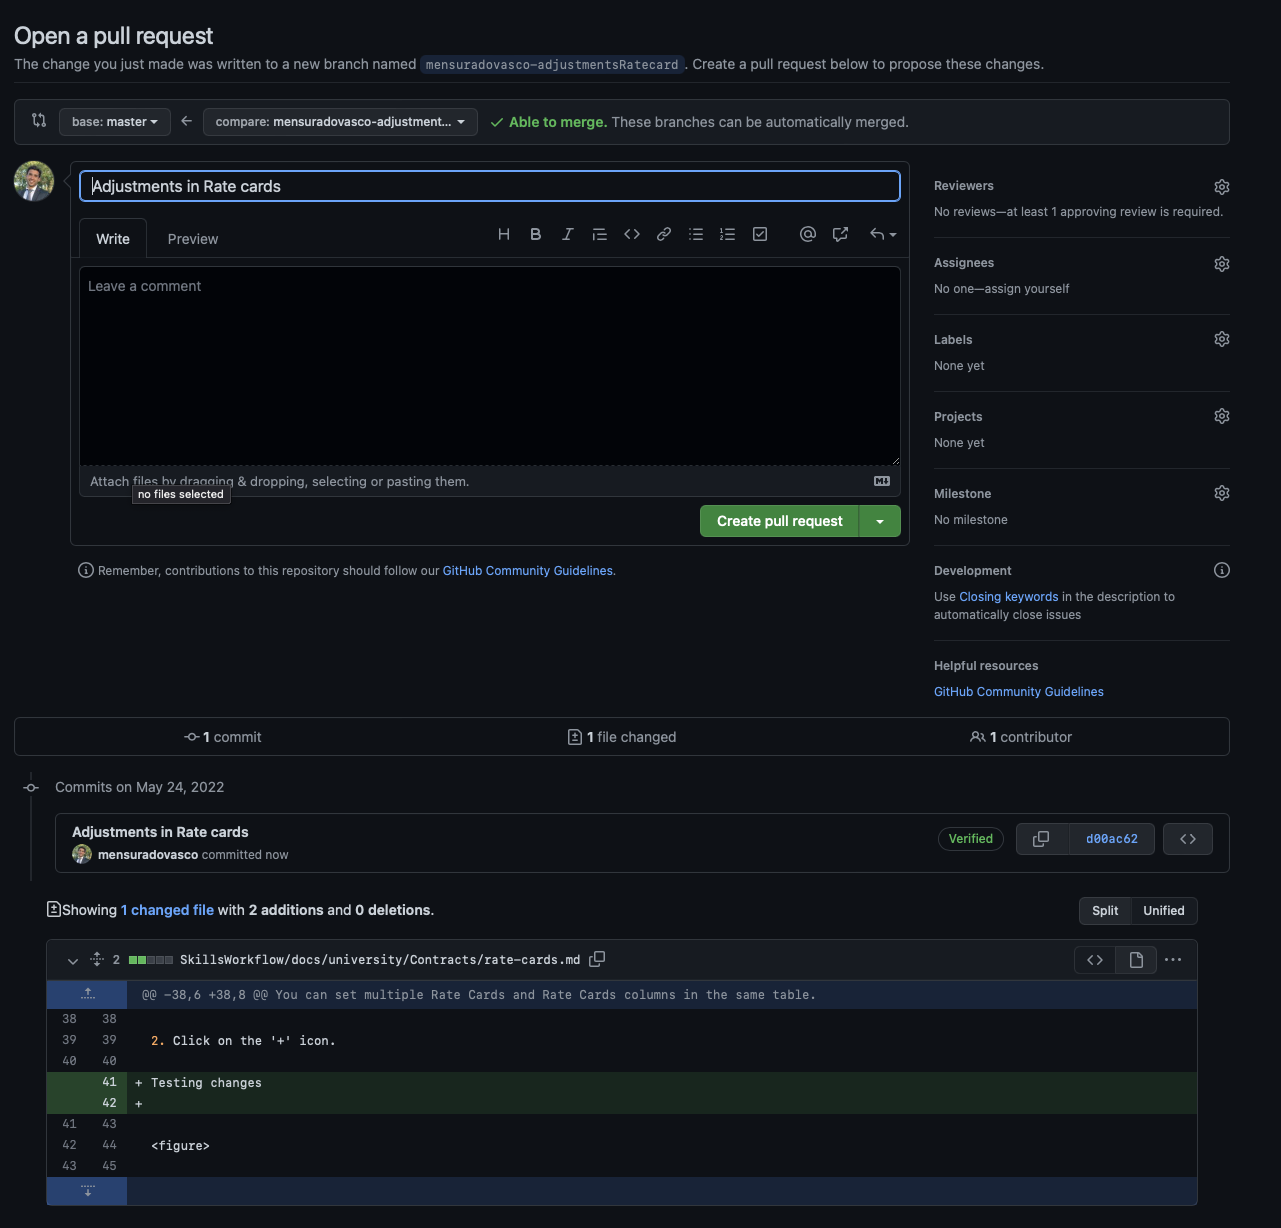
Commiting Changes and starting a Pull request
After making your desired changes you should commit this file and start a pull request. this will allow our team to review it, and if approved it should show on the production website withing minutes.

