Expenses
Expenses can be created in two ways:
- Directly on a Project
- On an Expense Sheet
Create directly on the Project
To create expenses navigate to Project module and select a project to add receipts.
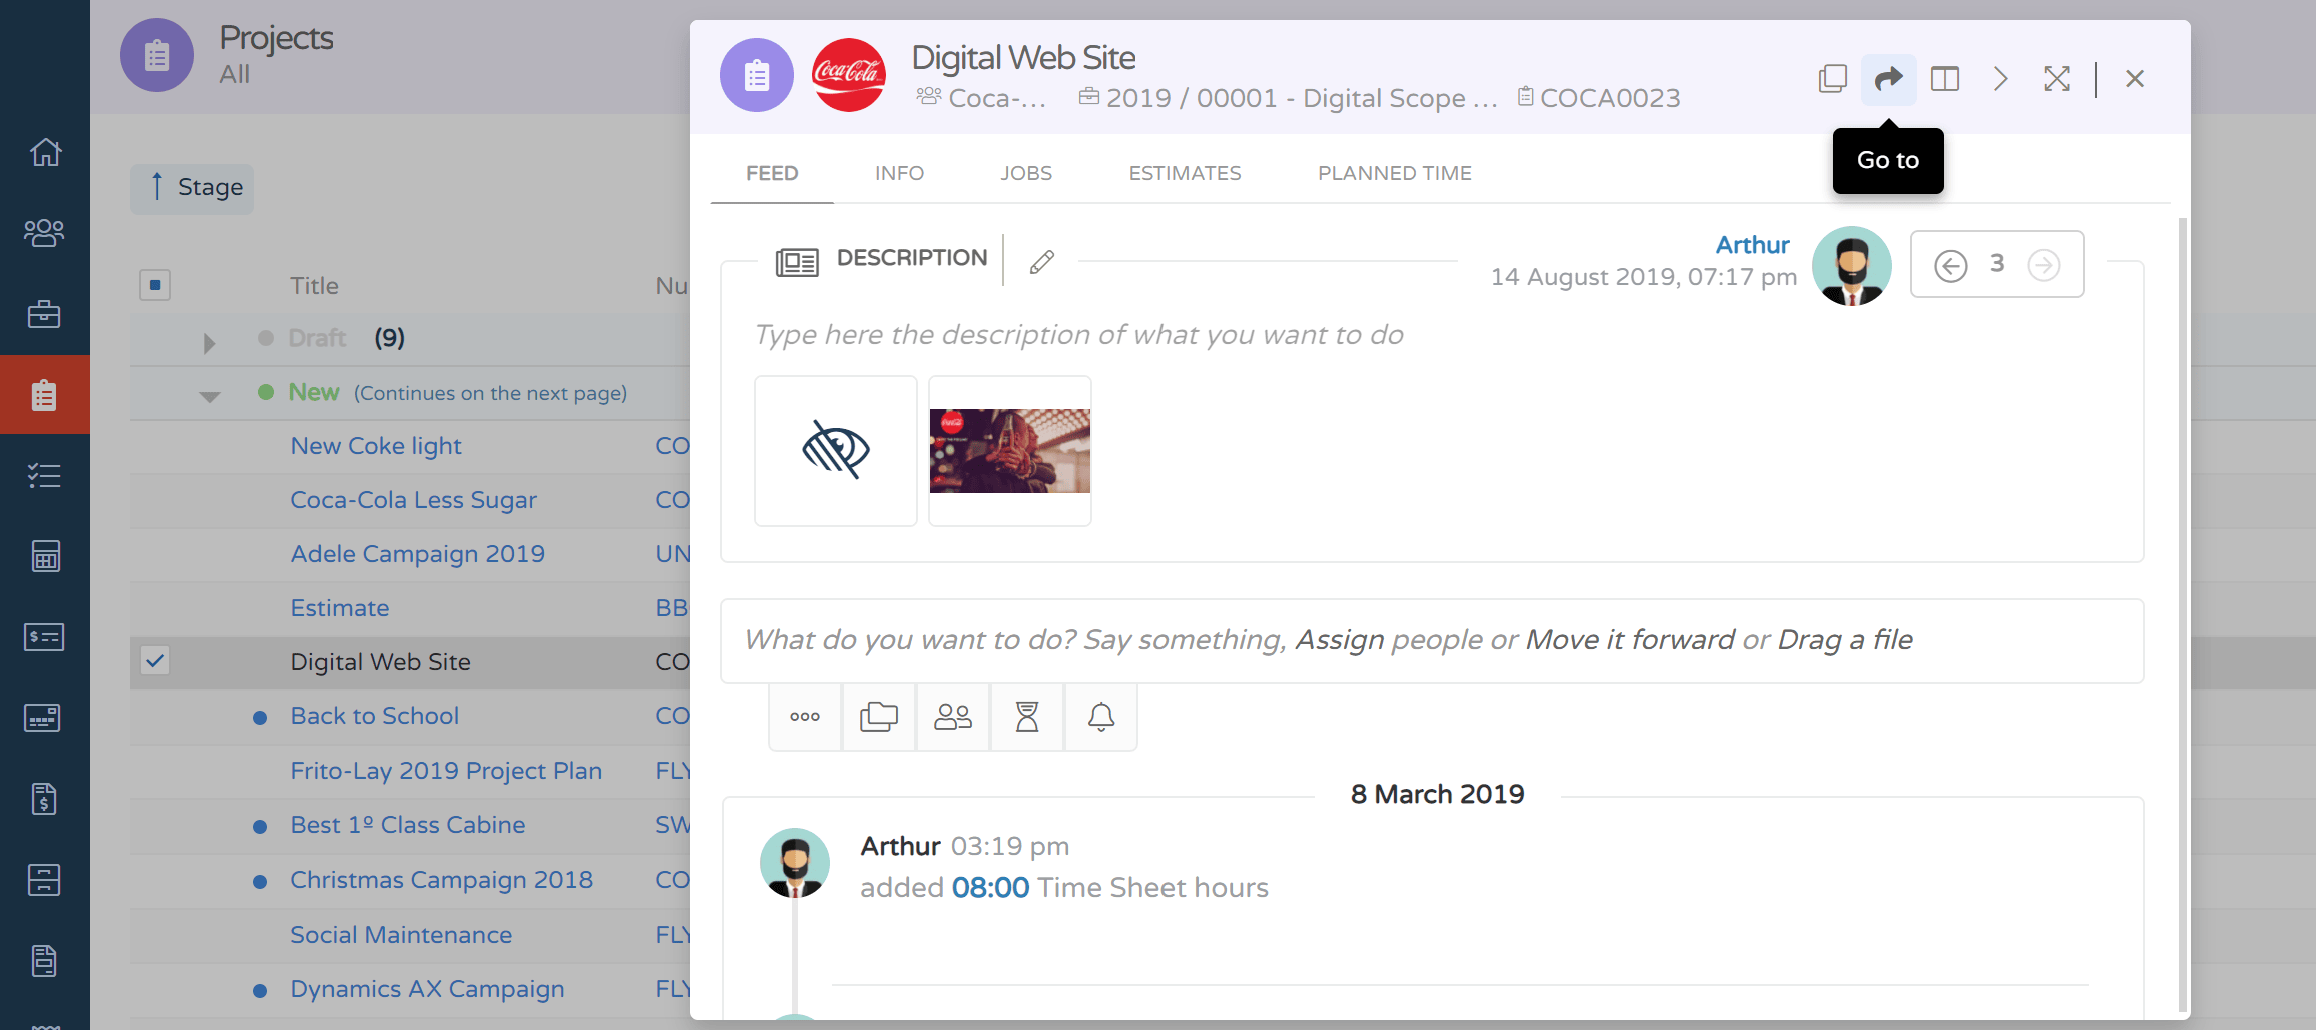
- Click on the icon '+' to create a new Expense Item.
- Add a description
- Add a file
- Fill the remaining fields
- Click 'ok' and submit post.
- Repeat the process if there are more expense to add to the same project.

Create on Expense Sheet
- Go the Expense Sheets module.
- Select All list.
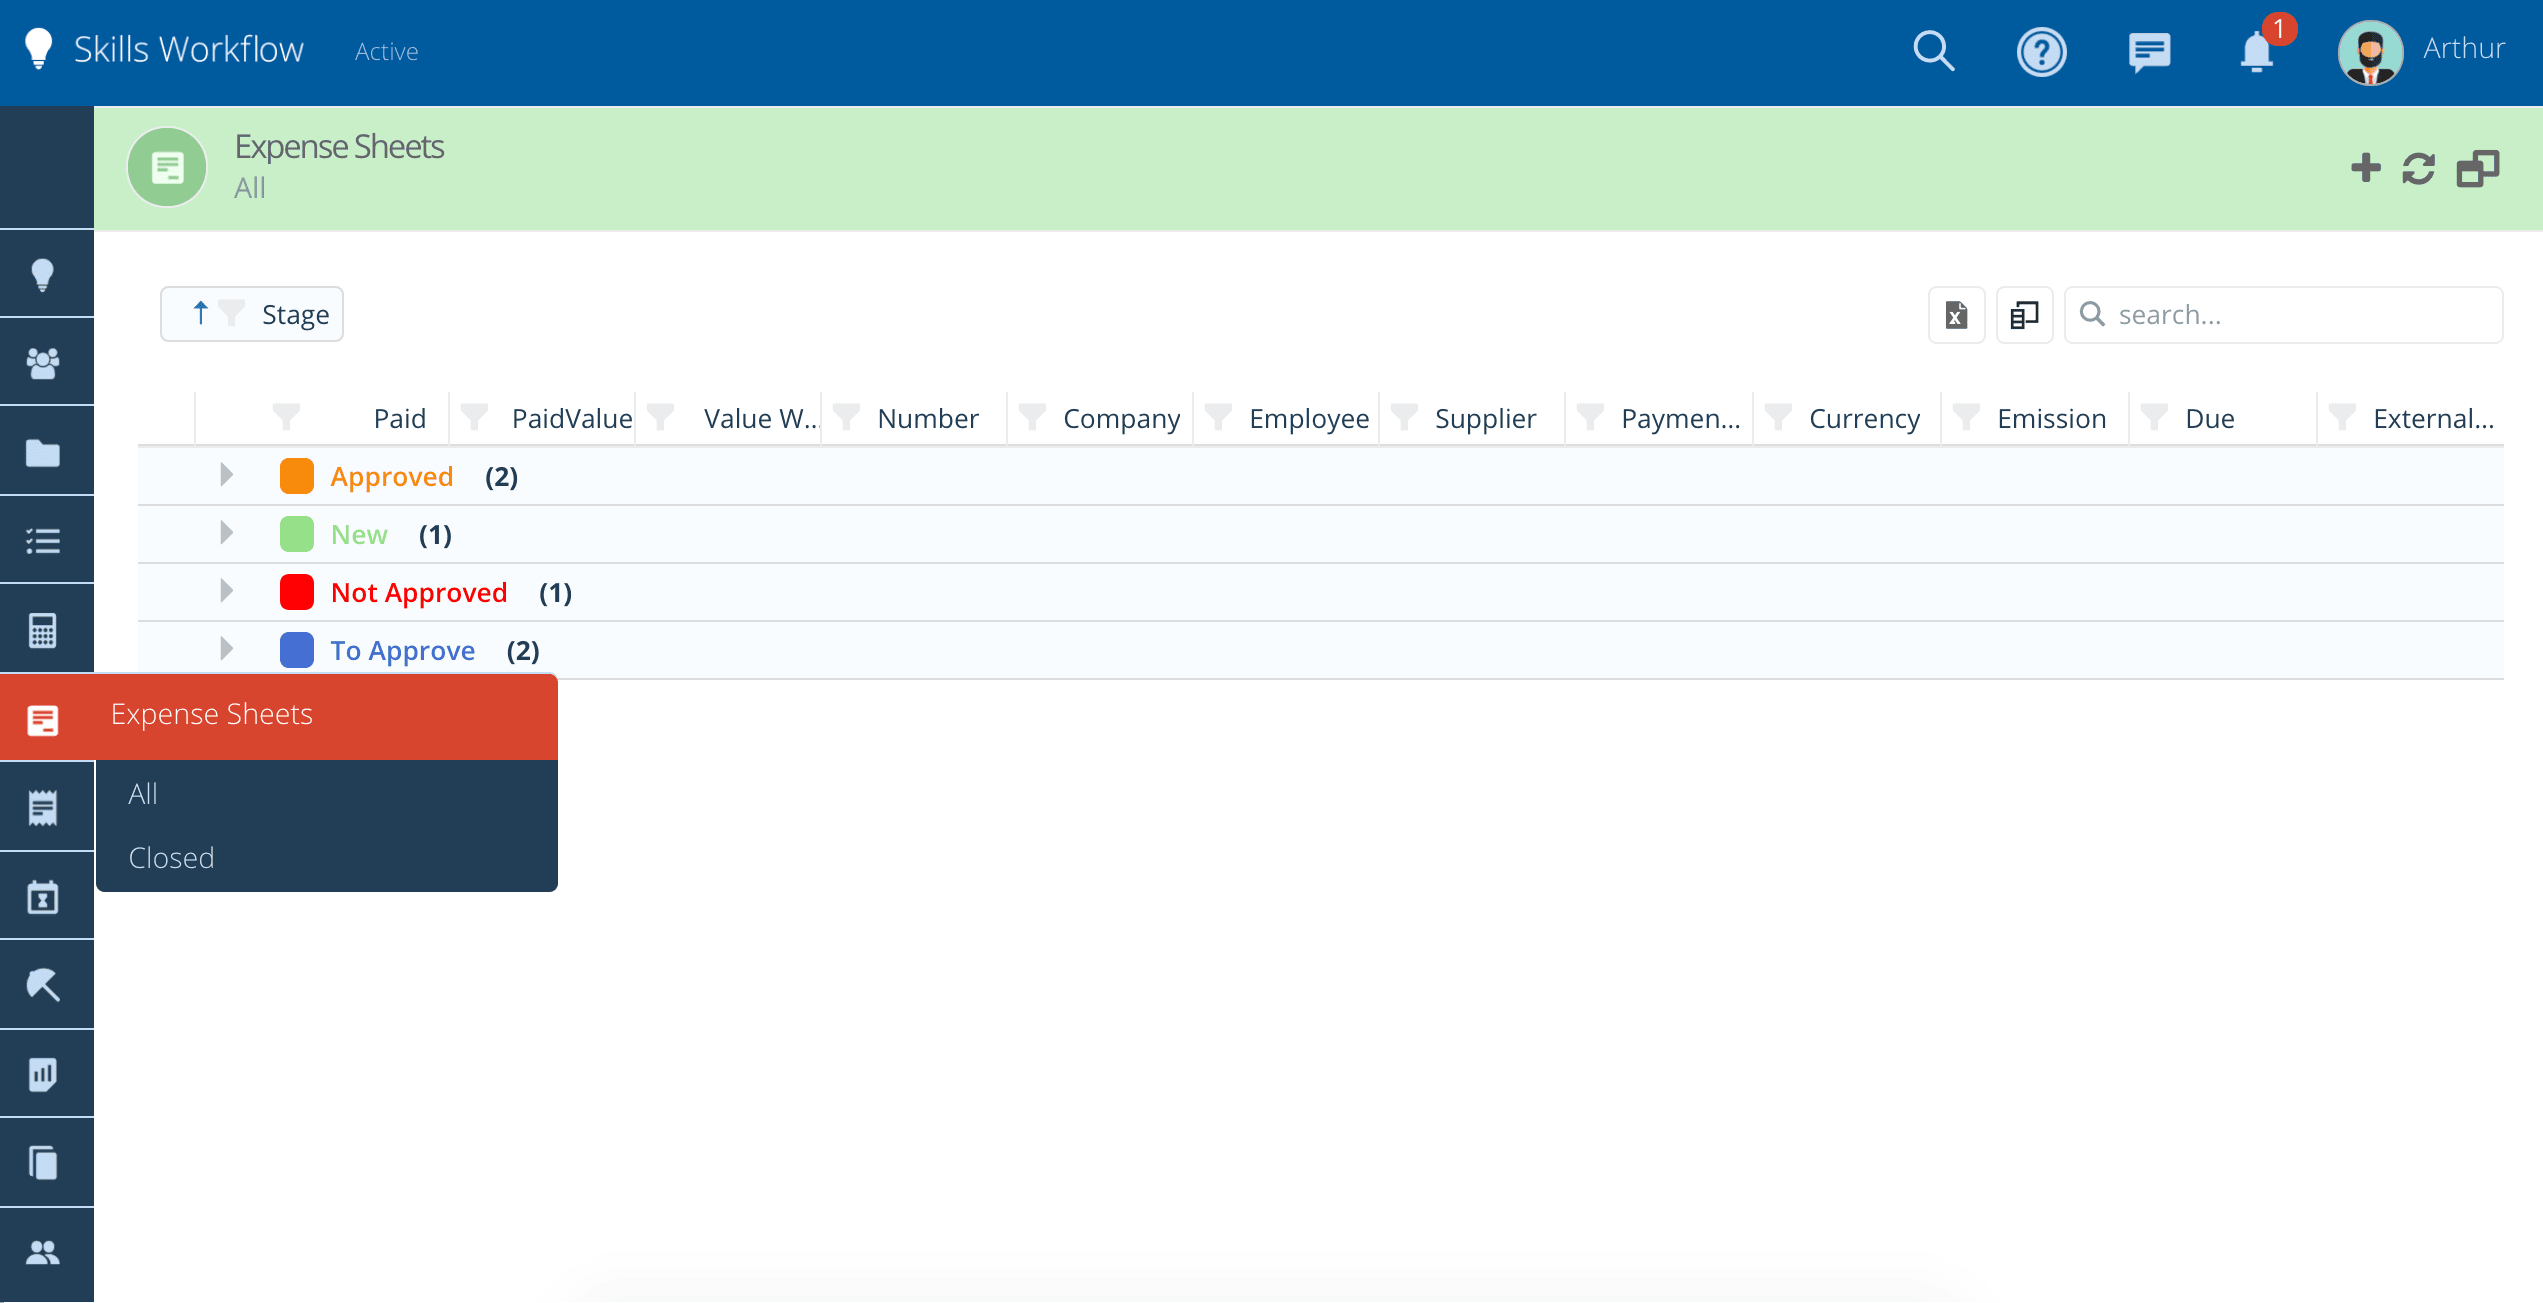
- Select a Expense Sheet where you intend to add an Expense and click on the '+' to create.
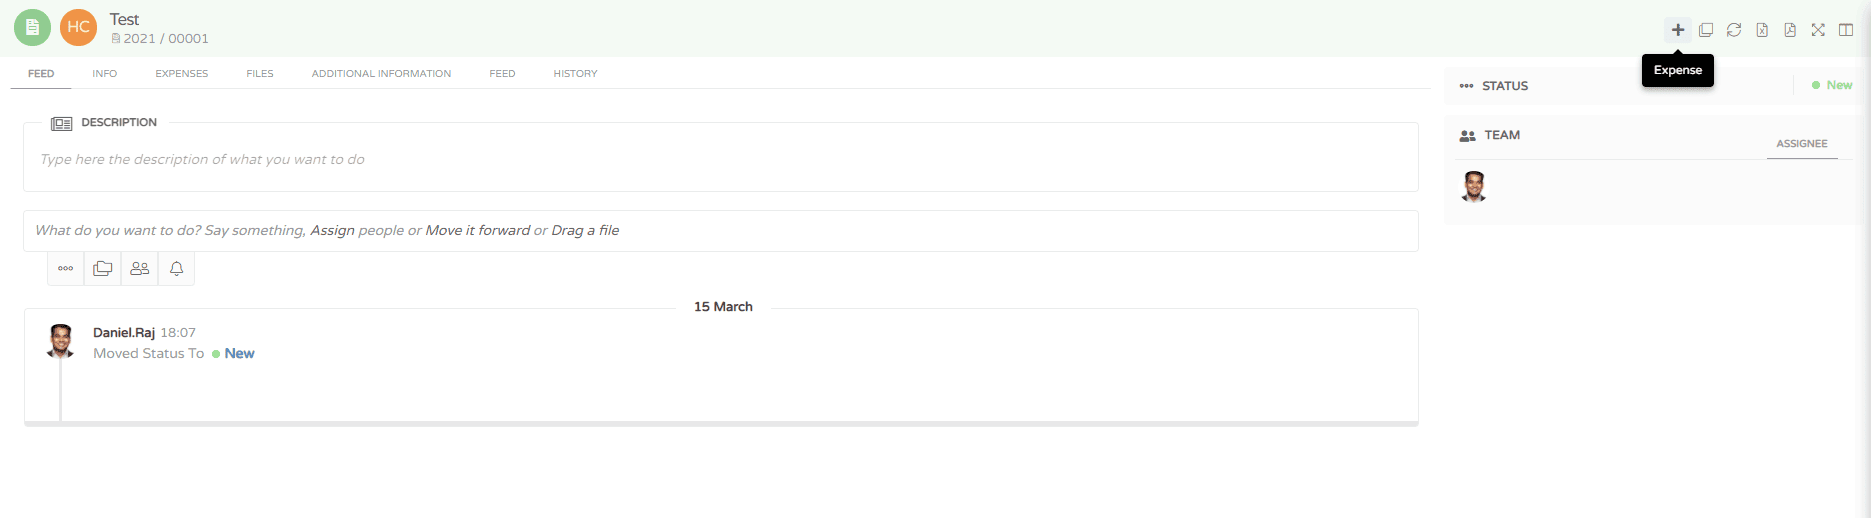
- Fill the fields, click 'ok' and submit the post.
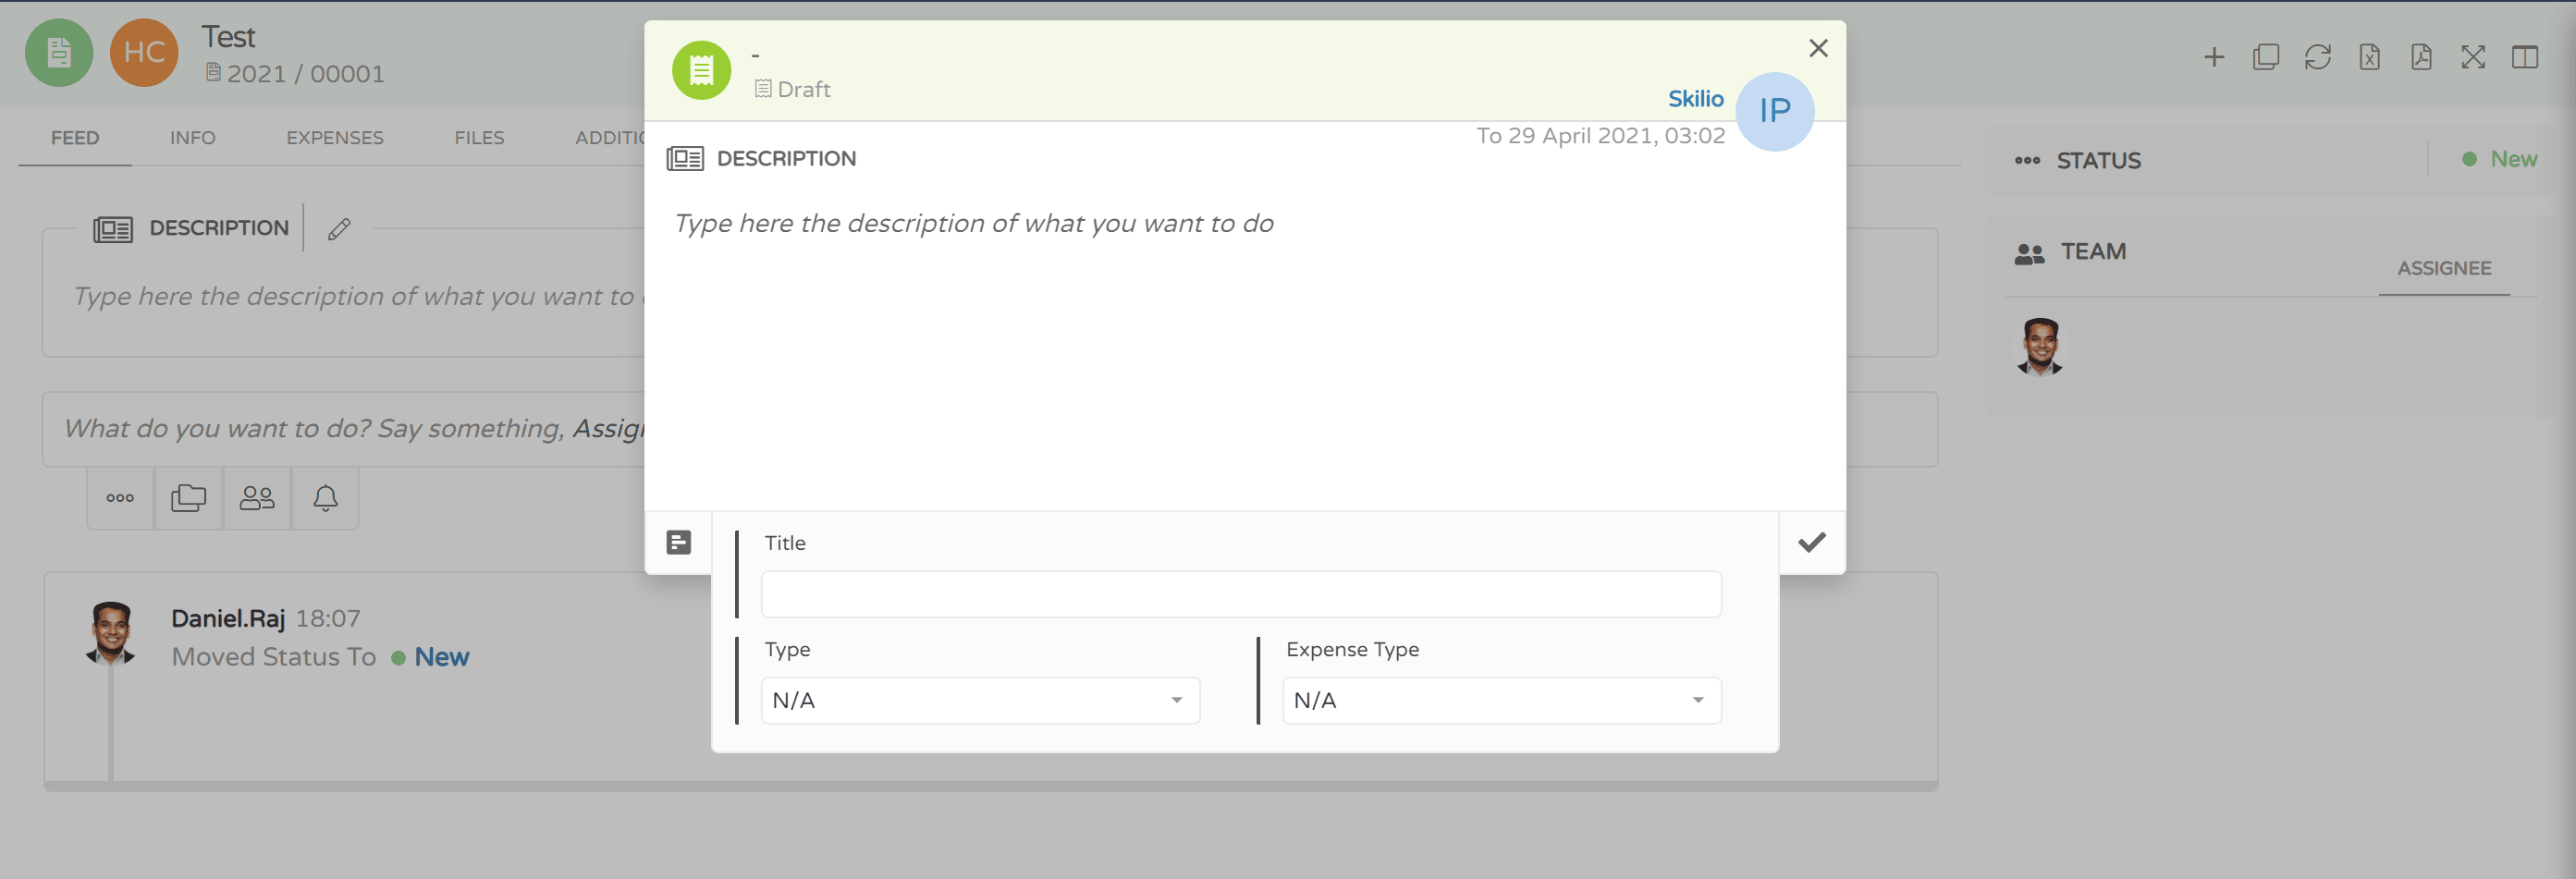
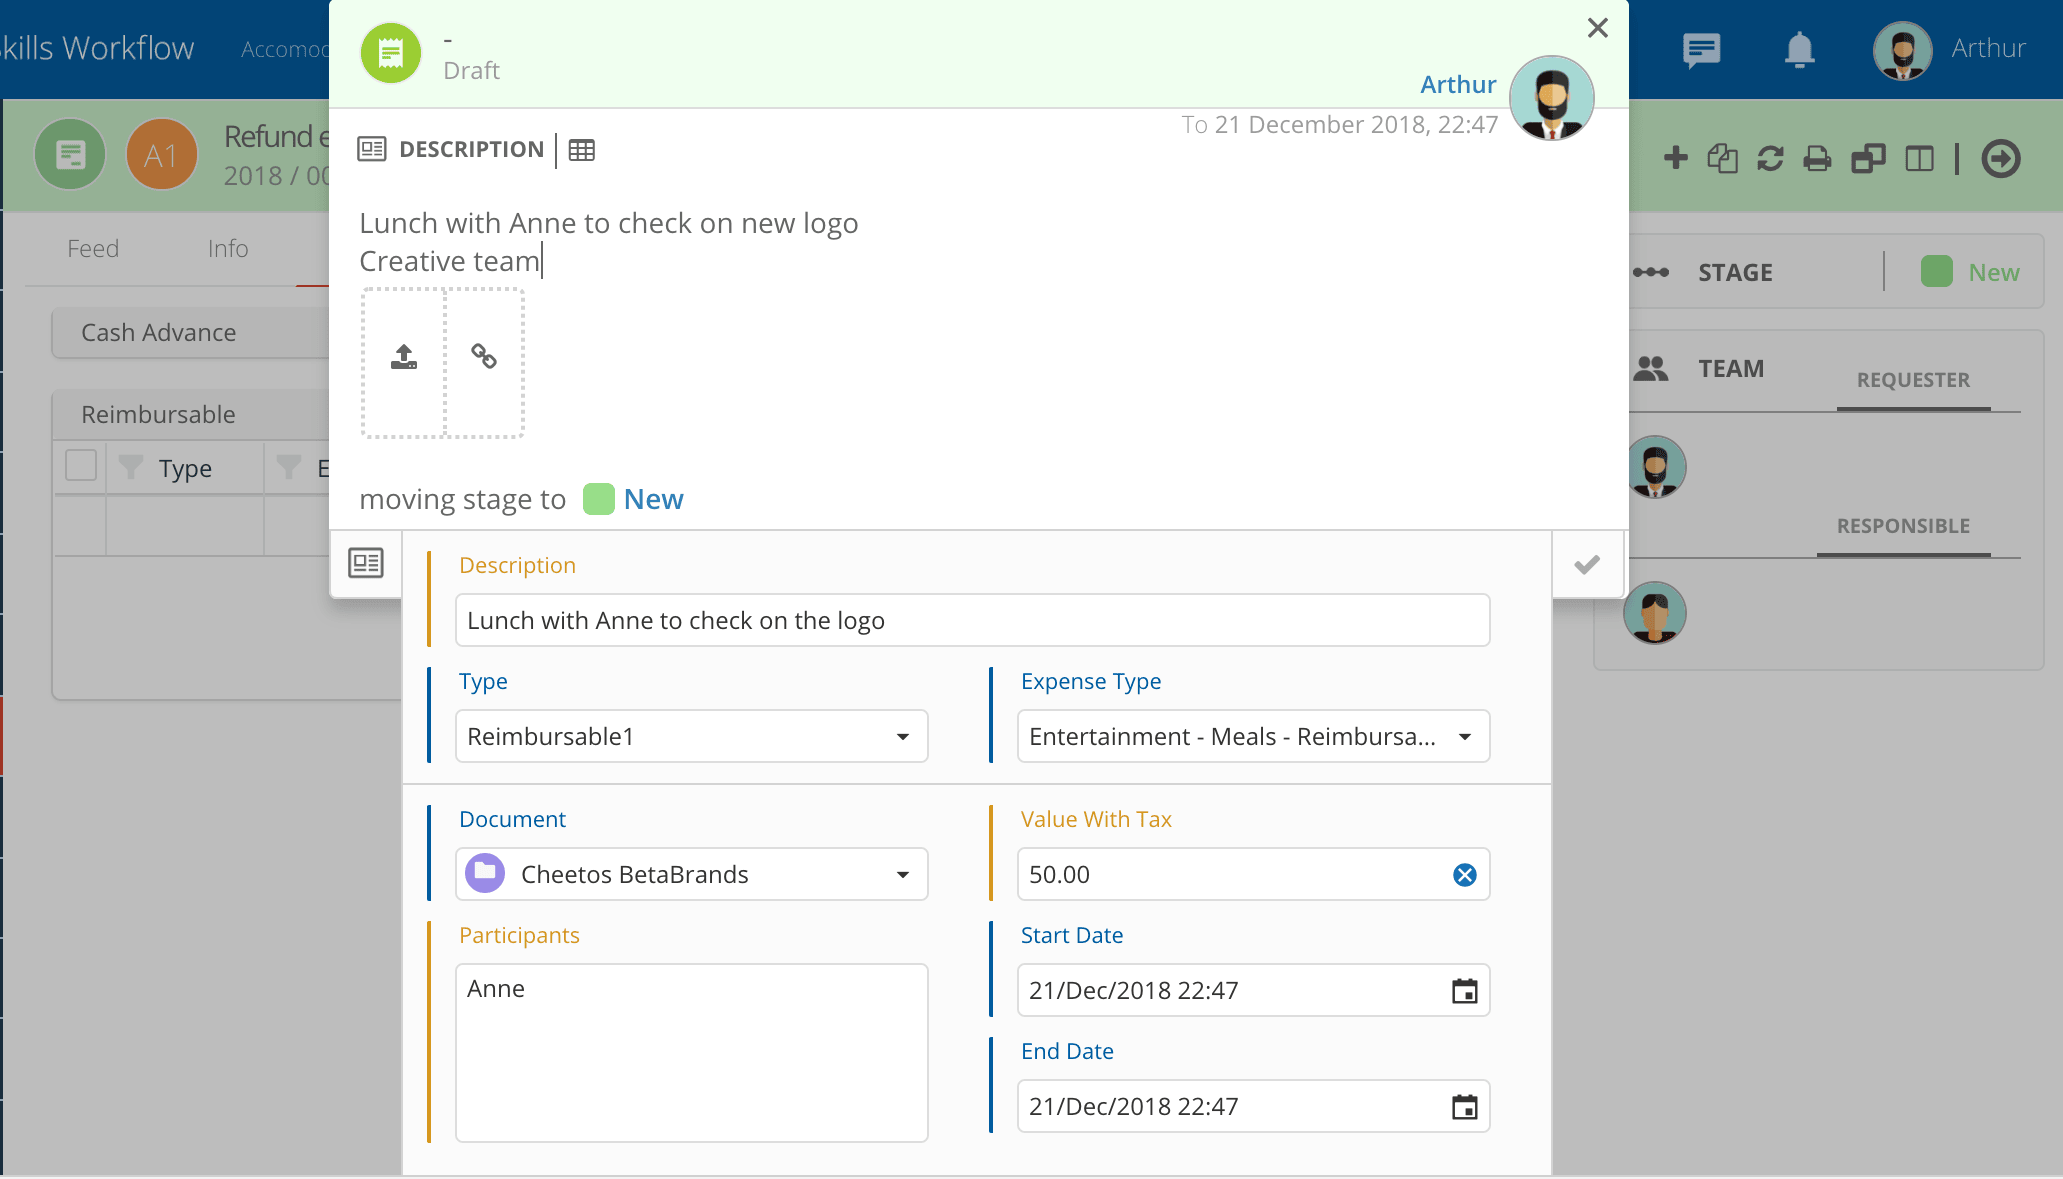
- Add a description.
- Select the type of Expense.
- Add an image with the recit to add a file.
- In the field Document search for the project or client you want to link.
- Add expense's value.
- Click 'ok'.
- Repeat the process if there's more than 1 expense.
note
Please, take into account that all fields in yellow are mandatory. Inside the same expense sheet different project's receipts can be added.
If you have several receipts for the same sheet you can repeat the process using the duplicate option
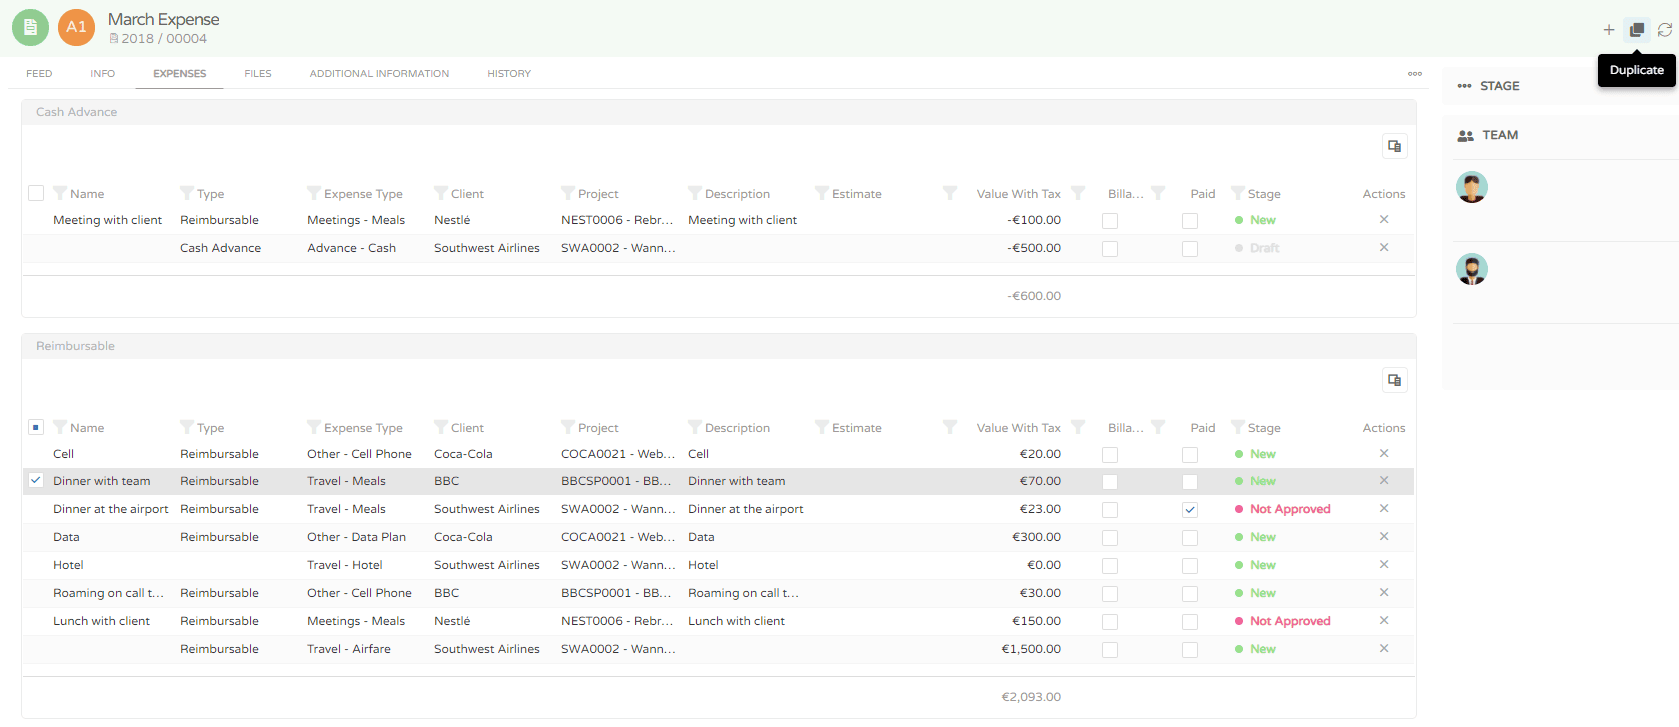
- Select the expense you which to copy and click on duplicate.
- The system will generate an automatic number and also a confirmation pop-up.
- Go to the expense sheet, in the Feed exchange the stage in order to send for the responsible for approval.